You Need to use Time Machine to back up or restore your Mac. Time Machine backs up all of your files to an external hard drive so that you can restore them later or see how they looked in the past.
Set up Time Machine
Time Machine is the built-in backup feature of OS X. To use it, you need one of these external storage solutions, sold separately:
- External hard drive connected to a USB, FireWire, or Thunderbolt port on your Mac
- Time Capsule or OS X Server on your network
- External hard drive connected to the USB port of an AirPort Extreme (802.11ac) base station on your network
When you connect an external hard drive directly to your Mac, you might be asked if you want to use the drive to back up with Time Machine. Click “Use as Backup Disk.” If you select the option to encrypt, your backups will be accessible only to users with the password.

If Time Machine doesn't ask you to choose a backup disk:
- Open Time Machine preferences from the Time Machine menu Time Machine icon in the menu bar. Or choose Apple menu > System Preferences, then click Time Machine.
- Click Select Backup Disk.
- Select an external hard drive, Time Capsule, or other storage solution from the list, then click Use Disk.
- After you choose a backup disk, optionally click “Add or Remove Backup Disk” to add more backup disks for extra security and convenience.
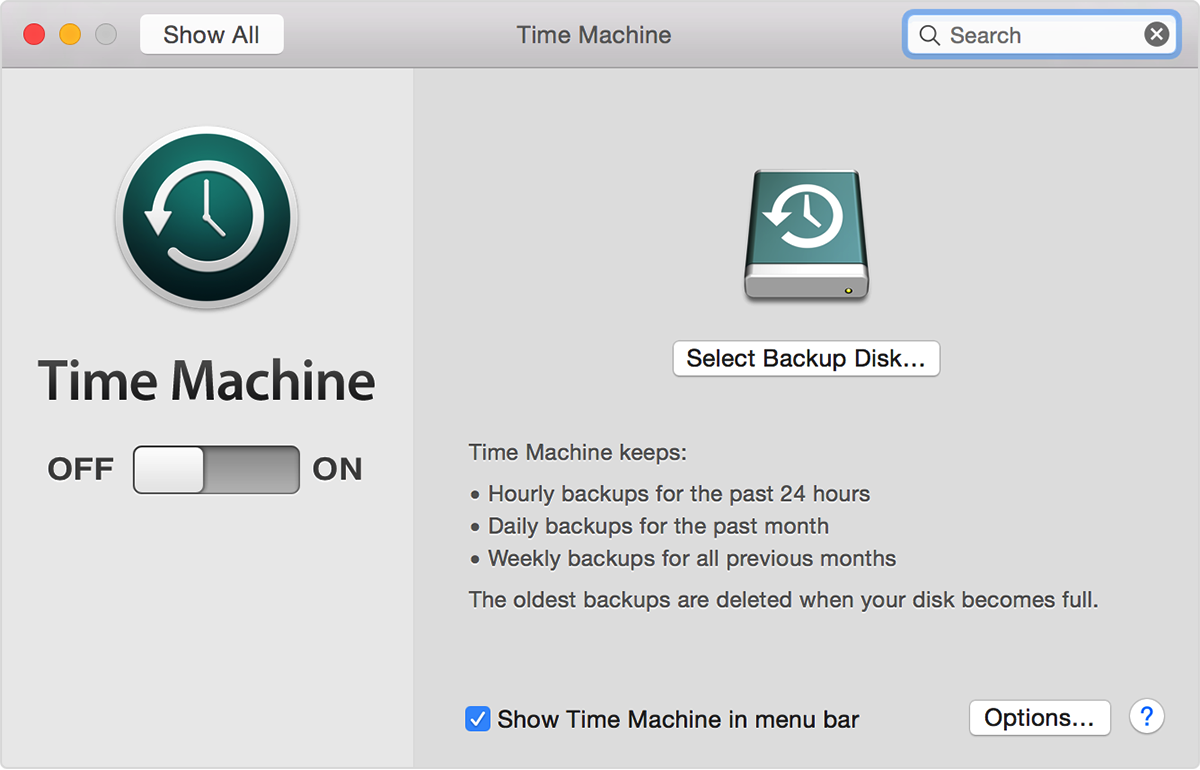
Time Machine preferences
Back up using Time Machine
After you set up Time Machine, it automatically makes hourly backups for the past 24 hours, daily backups for the past month, and weekly backups for all previous months. The oldest backups are deleted when your backup drive is full.
- To back up now instead of waiting for the next automatic backup, choose Back Up Now from the Time Machine menu Time Machine icon.
- To stop automatic backups, turn off Time Machine in Time Machine preferences. You can still back up manually by choosing Back Up Now from the Time Machine menu.
- To pause a backup, choose Stop Backup from the Time Machine menu. To resume, choose Back Up Now.
- To check backup status, use the Time Machine menu. The icon shows when Time Machine is backing up In progess, idle until the next automatic backup Idle, or unable to complete the backup Can't backupCan't back up.
- To exclude items from your backup, open Time Machine preferences from the Time machine menu, click Options, then click Add and select the item to exclude.
Your first backup may take a long time, depending on how many files you have. You can continue using your Mac while a backup is underway. Some Mac computers make backups even when asleep. Time Machine backs up only the files that changed since the previous backup, so future backups will be faster.
Restore from a Time Machine backup
Restore specific files:
1. Choose Enter Time Machine from the Time Machine menu Time Machine icon, or click Time Machine in the Dock.

2. Find the files to restore:
- Use the timeline on the edge of the screen to see the files in your Time Machine backup as they were at that date and time. The timeline may also include local snapshots.
- Use the onscreen up and down arrows to jump to the last time the contents of the window changed. You can also use the search field in a window to find a file, then move through time while focused on changes to that file.
- Select a file and press Space Bar to preview the file and make sure it's the one you want.
3. Click Restore to restore the selected file, or Control-click the file for other options.
Restore everything:
- To restore everything in your Time Machine backup, use OS X Recovery.
- To copy the files, settings, and OS X user accounts in your backup to another Mac, use Migration Assistant.


No comments:
Post a Comment